In summer, insulating a balcony feels like something for later, but this is actually the best time for it: installers have more availability, adhesives and foam work properly at normal temperatures, and by the cold season you'll have a finished warm room. Whether it becomes a home office, a workshop, or a laundry-drying space, a warm balcony adds a few extra usable square meters to an apartment.
Before you start, decide how you'll use the space. For storage and drying laundry, decent glazing and moderate insulation are enough. For a home office or a kids' corner, you need the full package: warm windows, insulated floor, walls and ceiling, heating, and outlets. This decision drives both the budget and the order of work.
Let's go over where to start, which materials to choose, in what order to do the work, and how much it costs. Prices are approximate, for 2026, for a loggia of about 6 m² in an apartment building. Before starting work, check the rules with your management company: glazing and facade changes require approval in some buildings.
Balcony or loggia: what can be insulated
The distinction matters. A loggia is built into the building and is surrounded by the building's walls on three sides, while a balcony projects out from the facade and is supported by a cantilevered slab. A loggia is easier and more effective to insulate: it has fewer exterior surfaces, and the slab can handle extra load. A balcony is insulated with lightweight materials and with an eye on the slab's condition: old slabs with cracks and exposed rebar need to be repaired first.
Start with the glazing
The most common cold glazing is an aluminum frame with single-pane glass. It protects against rain and snow, but doesn't hold in heat at all. If you're planning a warm balcony, this kind of glazing will need to be replaced with plastic windows with double-glazed units or a warm aluminum frame.
- Plastic frame with a double-glazed unit: the best option for loggias, holds heat well.
- Warm aluminum: lighter than plastic, works for balconies with a weak slab, but more expensive.
- Extending the glazing line: adds 20-30 cm of width but increases the load on the slab and isn’t allowed on some balconies.
- Parapet: the metal railing under the windows also needs insulating, or should be replaced with aerated-concrete blockwork.
A warm balcony doesn't start with insulation, it starts with the windows and the vapor barrier. A thick layer of mineral wool behind cold aluminum glazing will only produce dampness and mold.
Which insulation to choose
Three things matter on a balcony: thermal conductivity, moisture resistance, and thickness. Every centimeter counts, so materials with low thermal conductivity are especially valuable here.
| Material | Pros | Cons | Price per m² of 50 mm layer, ₽ |
|---|---|---|---|
| Extruded polystyrene (XPS) | Doesn't mind moisture, thin, strong, works for floors | Flammable, doesn't let vapor through | 250-450 |
| Polyisocyanurate (PIR) with foil facing | Warmest at the same thickness, has a reflective layer | More expensive, seams need careful taping | 450-800 |
| Mineral wool | Non-flammable, blocks sound well | Vulnerable to moisture, needs vapor protection | 180-350 |
| Spray polyurethane foam | No seams, conforms to complex surfaces | Needs a crew with equipment | 700–1,200 with labor |
| Expanded polystyrene (EPS) | The cheapest | Fragile, less durable | 120-220 |
For most loggias, extruded polystyrene or PIR panels 40-60 mm thick on the walls and ceiling, and 30-50 mm under the screed or joists on the floor, are practical. Mineral wool is good if you can set up flawless vapor barrier and ventilation.
Order of work
The sequence matters: if you swap steps around, you'll end up redoing them. Here's a typical order for a loggia.
- Remove the old finish and glazing, inspect the slab and walls, repair any cracks.
- Install the new glazing, insulate the parapet, and seal all joints with foam and tape.
- Waterproof the floor, especially if there's no heated loggia below from the neighbors.
- Insulate the floor: joists with insulation between them, or insulation under a screed.
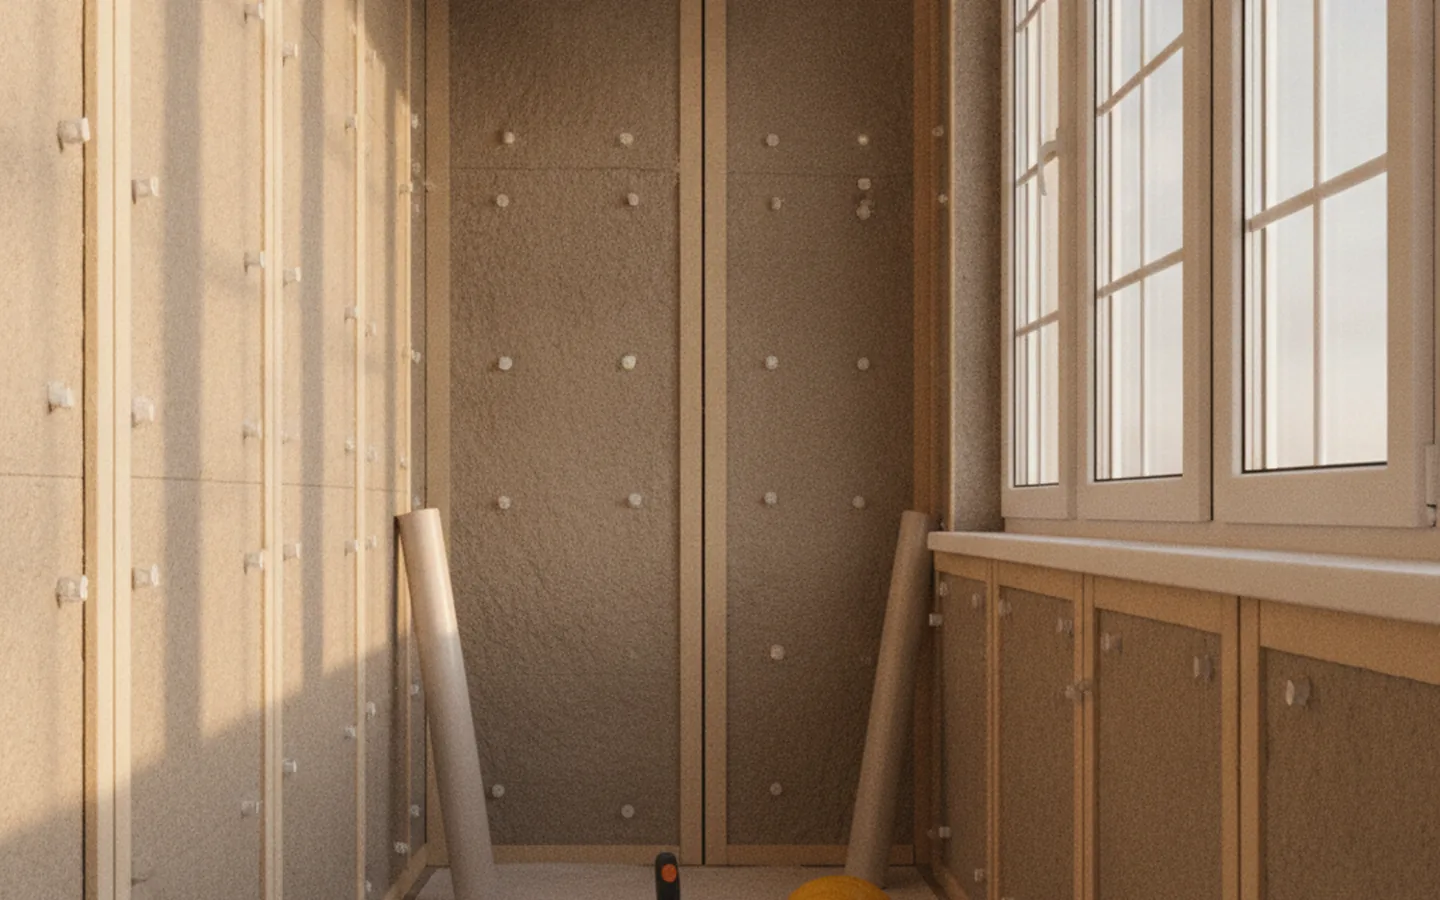
- Insulate the walls and ceiling, taping the seams with foil tape.
- Add a vapor barrier on the warm side, if you used mineral wool.
- Electrical work: outlets, lighting, and an electric heated floor if needed.
- Final finish: tongue-and-groove paneling, panels, drywall, or plaster.
Floor
The floor on a loggia often turns out to be the coldest spot: the concrete slab below borders the outdoors or a neighbor's unheated balcony. A light, quick option: wooden joists with insulation panels between them, topped with moisture-resistant plywood or OSB and a finish layer. A wet screed over insulation is stronger and works under tile, but weighs noticeably more and takes several weeks to dry, so it's usually not chosen for a cantilevered balcony. The floor level rises by 6-10 cm after insulation, and you need to account for the threshold at the balcony door in advance.
Heating
An insulated loggia will still be several degrees colder than the room in winter. To use it as a full-fledged room, you need a heat source. Connecting a balcony to central heating is prohibited, so people choose an electric heated floor or a convector heater. A qualified electrician should run the wiring for them, with a dedicated line and breaker, especially if the building has old wiring.
Budget: how much insulating a loggia costs
The table shows approximate amounts for a loggia of about 6 m² with 3 meters of glazing. The amounts include materials and labor.
| Stage | Budget, ₽ | Mid-range, ₽ |
|---|---|---|
| Demolition and debris removal | 5,000–10,000 | 8,000–15,000 |
| Warm glazing | 45,000–70,000 | 70,000–120,000 |
| Insulating the parapet, walls, and ceiling | 25,000–40,000 | 40,000–65,000 |
| Insulating and leveling the floor | 12,000–20,000 | 20,000–35,000 |
| Electrical work and heated floor | 10,000–18,000 | 20,000–35,000 |
| Final finish | 20,000–35,000 | 40,000–80,000 |
| Total | 117,000–193,000 | 198,000–350,000 |
The glazing is almost always the biggest line item. If the windows were replaced recently and are warm, the budget shrinks by almost half. Don't forget to set aside a 10% reserve for the unexpected: cracks or rusted embedded fittings often turn up under the old finish.
DIY or with a crew
Some of the work is well within reach of a careful homeowner: removing the old finish, insulating the walls and ceiling with panels, and finishing with paneling or panels. Doing it yourself saves roughly 30-40% of the installation cost. But glazing, reinforcing the slab, extending the line, and electrical work are better left to professionals: mistakes here are costly and involve safety, and a professional crew offers a warranty on the windows and installation.
If you hire a contractor, ask for a quote broken down by stage, not a single “turnkey” number. That makes it easier to compare offers and see where someone is cutting corners on materials. A good sign: the contractor asks how you'll use the balcony and suggests a ventilation solution. A bad sign: promising a “warm balcony in three days” without inspecting the slab.
Common mistakes
- Warm insulation behind cold glazing. Humid air from the apartment condenses on cold windows and walls, and mold appears.
- No vapor barrier over mineral wool. The wool gets wet from the inside and stops insulating within a couple of winters.
- Untaped seams. A gap between insulation panels becomes a cold bridge, and a damp spot appears on the wall.
- Heavy finishes on the balcony. Tile, brick cladding, and a 10 cm screed overload the cantilevered slab.
- Skipping ventilation. A sealed balcony with no airflow will sweat: leave a trickle vent or a micro-ventilation setting on the windows.
A well-insulated loggia will last fifteen to twenty years without rework. To make that happen, don't cut corners on the windows and sealing, choose moisture-resistant materials, and don't skip the vapor barrier. The finish can easily be changed later, but redoing the insulation means a full teardown.
How to sign off on the work
- The windows open and close without effort, the seals fit tightly, and there's no draft through the sashes.
- The insulation seams are taped, and the foam outside is protected from the sun by flashing or sealant.
- There's no draft under the windowsill or where it meets the walls: check with your hand on a windy day.
- The outlets and heated floor are connected through a separate breaker, and you have a wiring diagram on hand.
- The contractor has provided warranty documents for the windows and installation.
FAQ
Can you insulate a balcony from the inside in winter?
You can, but it's harder: foam sealant and adhesives perform poorly in freezing temperatures, and working in a cold space is uncomfortable. If you can choose the timing, late spring, summer, or early fall is better.
Do you need approval to insulate a balcony?
Insulating from the inside usually doesn't require approval. Changing the glazing, altering the building's facade, and extending the glazing line require a permit in some buildings, so check with your management company.
How thick should the insulation be for a loggia?
For a temperate climate, 40-60 mm of extruded polystyrene or PIR panels on the walls and ceiling is usually enough. In colder regions the thickness is increased, but with an eye toward losing usable floor space.
This article is for informational purposes only and does not replace professional advice. Prices are approximate and current as of the review date. Found an error? Let the editors know via the contact page.