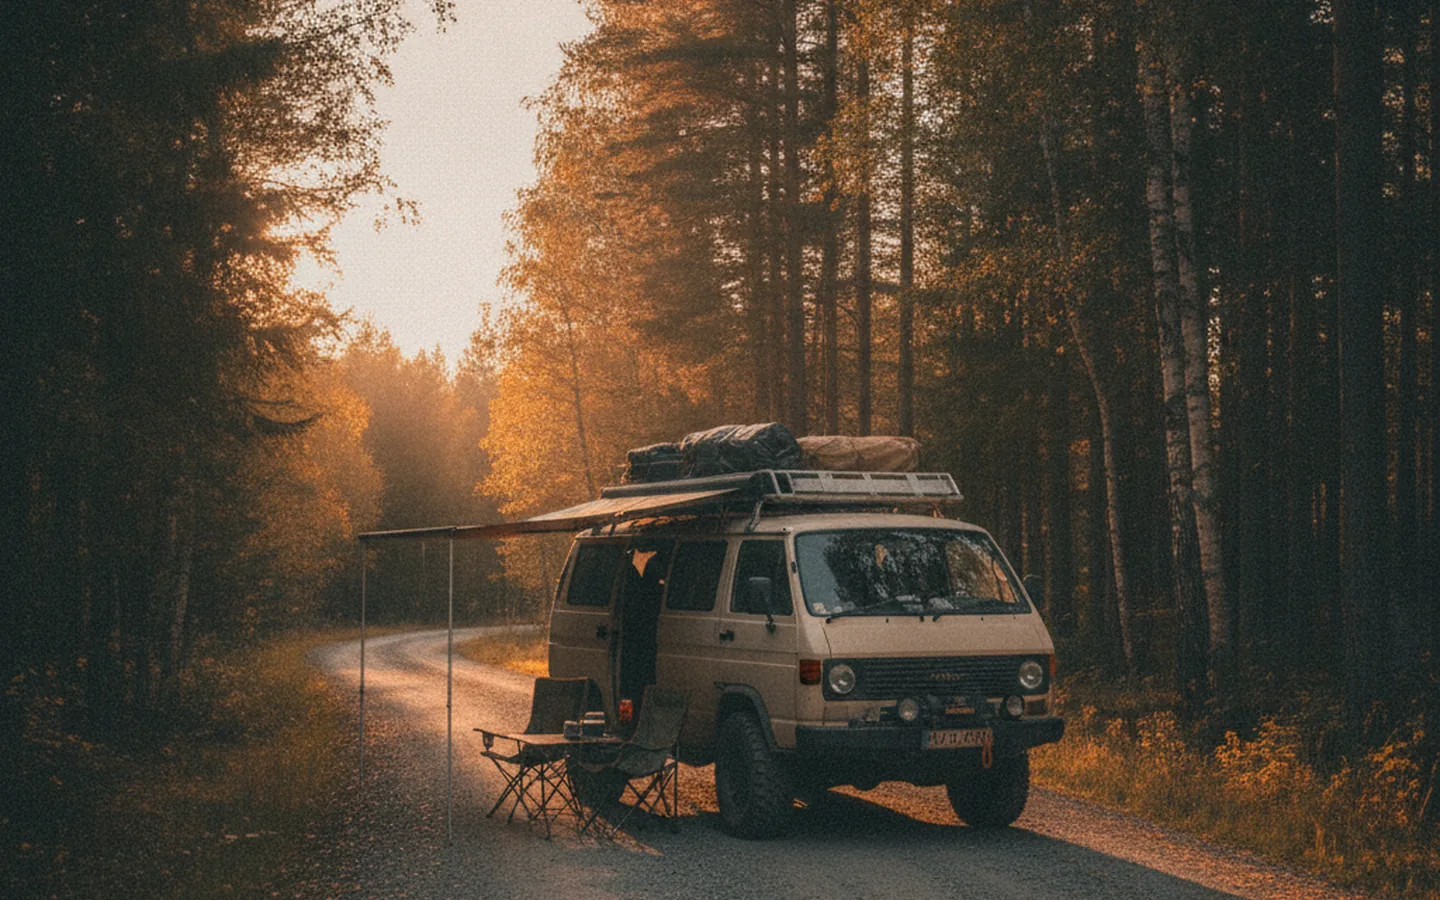
People buy a 4x4 camper for the freedom: turn off the highway, drive to a lake on a dirt track, and skip the hunt for a campsite with an outlet. In practice, that freedom quickly runs into small annoyances. The battery dies, summer tires spin out in a rut, it’s cold at night, and the nearest toilet is twenty kilometers away. The good news is that most of these problems can be solved without rebuilding the vehicle from scratch or budgeting for a new RV.
Below is a list of the upgrades that owners of “Bukhanka”- and “Sobol”-based campers, 4x4 vans, and pickups with a living module call the most useful. Prices are approximate, for 2026, not including labor unless stated otherwise.
First, be honest about how you travel
Before buying anything, it helps to write down three things: how many nights in a row you typically spend off the grid, what season you travel in, and what roads you actually encounter on your routes. Someone heading to a river for a summer weekend barely needs a powerful lithium battery and a standalone heater. Someone spending a week in Karelia in September will struggle without them.
- Short 1–2 night trips: tires, a portable toilet, good lighting and mosquito screens.
- Week-long trips: add a second battery, a solar panel, and a water reserve.
- Off-season and winter: a heater, insulated floor and walls, insulated window curtains.
Tires: the most underrated upgrade
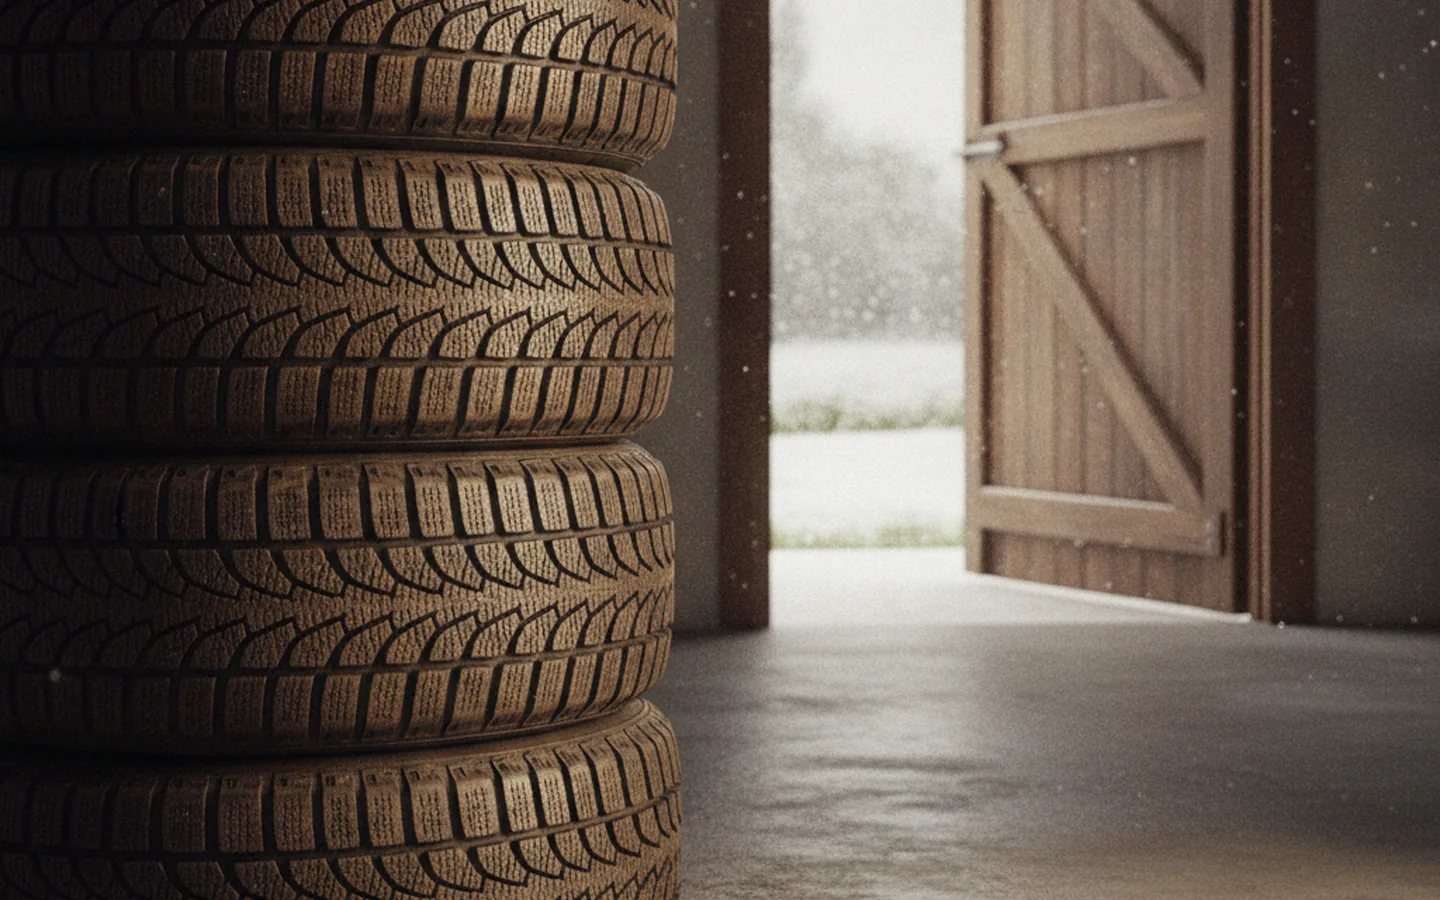
Most campers leave the factory, or the previous owner’s hands, on highway tires. They’re quiet and efficient on asphalt, but on wet clay and sand they turn four-wheel drive into a useless feature. Switching to all-terrain (AT) tires gives a noticeable boost in off-road capability and barely affects highway behavior.
| Tire type | Where they shine | Cons | Approximate set price |
|---|---|---|---|
| Highway (HT) | Asphalt, good dirt roads | Helpless in mud and ruts | from 35,000 ₽ |
| All-terrain (AT) | Mixed routes, gravel, light mud | A bit noisier and heavier | 50,000–90,000 ₽ |
| Mud-terrain (MT) | Clay, swampy terrain, off-road | Noise, fuel consumption, wear on asphalt | 70,000–130,000 ₽ |
For a camper that spends most of its mileage on asphalt, AT is almost always the sensible choice. Pay attention to the load index: a living van loaded with water, furniture and passengers weighs noticeably more than an empty one, and the tires need to handle the real weight with margin to spare. Along with the tires, it’s worth buying a compressor and a pressure gauge: dropping pressure to 1.2–1.5 bar on sand often helps more than new wheels do.
The best camper upgrade isn’t the one that looks good parked up, it’s the one that removes the main reason you’ve been cutting trips short.
Power without a generator
Off-grid power determines how many days you can stay parked in one spot. A typical setup looks like this: a second (auxiliary) battery, a DC-DC charger that tops it up from the alternator while driving, and a solar panel on the roof. The starter battery stays isolated, so the vehicle will still start even after a night with the fridge running.
- A 100 Ah LiFePO4 auxiliary battery: roughly 25,000–45,000 ₽. Lasts longer than a lead-acid one and tolerates deep discharge.
- A 20–30 A DC-DC charger: 8,000–20,000 ₽.
- A 200 W solar panel with an MPPT controller: 15,000–30,000 ₽.
- A 1,000–1,500 W inverter for a laptop and small devices: 7,000–20,000 ₽.
An average 200 W panel in temperate latitudes produces roughly 600–900 Wh a day in summer. That’s enough for a compressor fridge, lighting, phone charging and ventilation. In overcast weather and in autumn, output drops several times over, so think of solar as a helper, not your only source. If you’re planning an electric stove or air conditioning, an off-grid system will cost several times more, and it’s more honest to think about propane instead.
Life on the road: toilet, water and heat
Toilet and water
A toilet of your own feels like a luxury right up until your first rainy night by a river. The simplest option is a portable 10–20 liter cassette toilet, roughly 7,000–15,000 ₽. It doesn’t require cutting into the body, stows under a seat, and empties at designated spots at campsites and gas stations. Built-in cassette systems with an outside hatch are more convenient but cost more and require body work.
Water is handled with 20-liter jerry cans and a submersible pump with a button at the faucet. It’s cheaper and simpler than a fixed tank, and a can is easy to remove and refill at a spring. For a summer shower, a solar shower bag or a portable 12V pump with sun-warmed water is enough.
Heat and sleep
A standalone 2–5 kW air heater (the so-called “dry blower”) has become the most popular off-season upgrade. Chinese units run roughly from 12,000 ₽, name-brand ones from 40,000 to 80,000 ₽ excluding installation. It runs on diesel or gasoline from a separate tank, uses little electricity, and warms the cabin in 15–20 minutes.
The second most effective upgrade: insulation. Foam rubber on the walls and ceiling, an insulated floor, and heavy window curtains with a reflective layer. Materials for an average van run roughly 15,000–30,000 ₽, and the cabin gets quieter with less condensation as a result. Mosquito screens for the sliding door and the back doors cost almost nothing but make a huge difference on summer nights.
Security: cameras and simple locks
When the camper is left at a trailhead while you’re out hiking, you want to know what’s happening to it. A camera with motion-triggered memory-card recording, powered by the auxiliary battery, costs roughly 4,000–12,000 ₽. LTE-equipped models send alerts to your phone, but need signal, which is often absent in the wilderness. It helps to add a GPS tracker with its own power supply and mechanical deterrents: a steering wheel or pedal lock and extra locks on the rear doors.
Don’t keep documents, keys and cash in plain sight: a small car safe bolted to the floor under a seat costs less than a single broken window.
At popular lakeside and mountain-pass spots, a simple rule also works: leave the vehicle where it’s visible from the road or from other campers, and don’t leave bags or gadgets on the seats. An empty cabin draws less attention than the most expensive alarm system.
What you’ll have to register
Some upgrades count as changes to the vehicle’s construction. Broadly speaking: fitting a different tire size, a suspension lift, propane equipment, a sleeping platform bolted to the body, a winch, and a bull bar all require a prior inspection, testing at an accredited lab, and registering the change with the traffic police. Portable items that aren’t attached to the body (a cassette toilet, jerry cans, a removable fridge) don’t need to be registered.
- Before the modification, check with the lab whether it counts as a construction change.
- Get a preliminary approval, and only then do the work.
- After installation, get it inspected and update your vehicle documents.
- Keep receipts and certificates for the parts: you’ll need them for registration.
Registering major changes costs roughly 15,000–40,000 ₽ and takes several weeks. It’s worth budgeting for this in advance, so you don’t get a fine and a driving ban at the next checkpoint.
Where to start on a limited budget
If you can’t afford everything, a sensible order looks like this: tire pressure gear and a compressor first, then AT tires, then a portable toilet and mosquito screens, then an auxiliary battery charged from the alternator, and only after that a solar panel and a heater. This order improves safety and off-road capability first, then gradually increases your self-sufficiency. A camper built around your actual trips ends up cheaper and more reliable than one loaded with everything “just in case.”
FAQ
Do I need a solar panel if I only drive on summer weekends?
Usually not. For 1–2 nights, an auxiliary battery charged by the alternator on the way there is enough. A panel makes sense if you’re parked in one spot for three days or longer.
Which camper modifications don’t need to be registered with the traffic police?
Removable equipment that isn’t bolted to the body: a portable toilet, jerry cans, a portable fridge, a portable power station. For anything that changes the vehicle’s construction, wheel size, or attaches to structural elements, it’s best to check with an accredited lab in advance.
What should I choose for a camper: AT or MT tires?
If most of your route is on asphalt and gravel, go with AT: they’re quieter, more fuel-efficient and last longer. Mud-terrain MT tires are worth it if you regularly drive through clay and swampy terrain.
This article is for informational purposes only and does not replace professional advice. Prices are approximate and current as of the review date. Found an error? Let the editors know via the contact page.